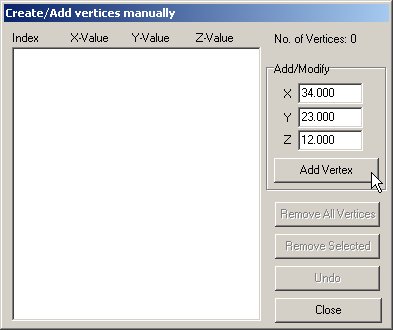
This is the main function to use in order to set the geometry/vertices.
To create/add a new vertex, type the values for the X,Y and Z coordinates into the edit boxes and hit the [Add Vertex] button.
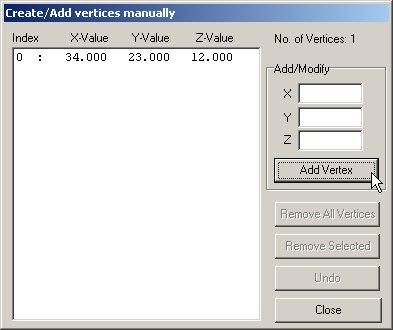
The newly created vertex will be shown in the table.
It is also shown immediately in the display window, where you might have to zoom/pan to bring it into view.
This can be done with the vertex dialog still open.
This procedure can now be repeated to add more vertices.
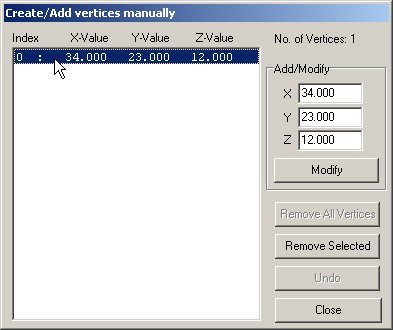
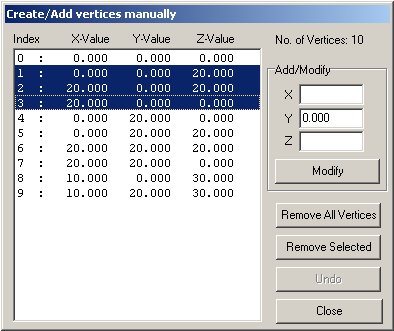
By clicking on a vertex line in the table, it becomes selected and the values of this particular vertex are written into the edit boxes to allow modifications.
Note:
A double-click on a vertex line in the table resets the [Modify] button back to [Add Vertex].
When one vertex is selected, its values are written into the edit boxes.
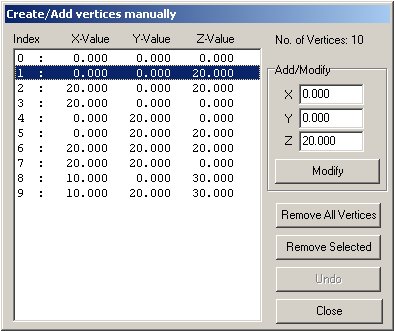
When two or more vertices are selected (using Shift or Ctrl), only the values which are the same on all of them are allowed to be modified.
In this case, the Y-Value is 0.000 in all three selected vertices, and can therefor be changed.
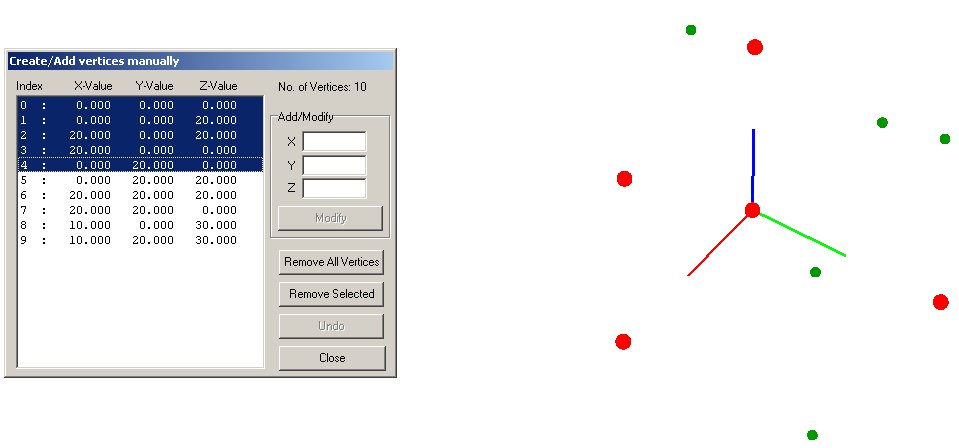
When more vertices with all different values are selected, no value will be allowed to be changed.
Note how all selected vertices are shown with the "Selected Vertex Color" (here: Red, chosen in Options).
Note:
Lines and/or polygons associated with the selected vertices are updated accordingly.
When a selected group of vertices with all different values has to be changed, keep the selection and use the functions from Modify Menu instead !
- Remove All Vertices
This removes all vertices, and therefor all lines/polygons.
- Remove Selected
This removes all currently selected vertices and lines/polygons which are associated with them.
- Undo
Undo restores the last action and can be used even after the vertex dialog was closed and re-opened.
Imports Vertex and/or polygons from:
- Vertex Text File
This loads vertices from a Vertex Text file.
- DXF file
This loads vertices from a DXF- file.
- 3DO-Text file
This loads vertices and random-colored polygons from a 3DO-Text- file.
Exports Vertex and/or polygons to:
- Vertex Text File
This writes all vertices into a Vertex Text file.
- DXF file - Vertices only
This writes all vertices into a DXF- file.
- DXF file - Vertices and lines
This writes all vertices and lines into a DXF- file.
- DXF file - Vertices and polygons
This writes all vertices and polygons into a DXF- file.
- 3DO-Text file
This writes all vertices and random-colored polygons into a 3DO-Text- file.
This imports another complete project into the current project.
All Vertices, Lines, Polygons and Textures are imported.
All other definitions of the imported project are discarded.